Building an Infinite Level
This article will describe the strategy used to create the infinite levels in EVAX.
Concept
When creating very large game levels we can quickly run into resource constraints. There are many ways to attempt to reduce the cost of large levels (LOD, fog, etc) and this article will discuss one in particular: tricking the player.
If something is impossible: fake it.
A common way to trick a player is by combining small level pieces many times to create a larger level. As the player moves through the world, our game removes level pieces that are not visible and adds pieces that will soon be visible. If we design these pieces with connections in mind, and ensure they are placed properly, we can create the illusion of an infinite level while using a fraction of the resources.
This tactic is especially effective in the infinite runner style games like EVAX. These games focus on gameplay and do not require much sophistication in level design and appearance. This strategy would not work for open-world type games where repetition would be out of place and ruin the player's immersion.
Creating a repeatable level piece
The size of a repeatable piece is dictated by the game level. If there are hundreds of the pieces in one scene, it may not save much in the way of resources costs. On the other hand, if our repeatables are so large that only two make up an entire level we are not taking full advantage of our level stitching strategy.
In EVAX each level piece consisted primarily of a mesh and a material. The mesh size was set so that amount 10 level pieces were active at any given time. This made the pieces small enough to be manageable, but big enough that the game would never need too many pieces active simultaneously.
The Mesh
As with any puzzle pieces, the most important parts of the mesh are the edges (the seams where it will meet with other pieces). We want those edges to be as simple as possible. The simpler they are, the easier it will be to fit them against other pieces. For example, if a mesh has all straight edges we can align it with any other piece that has a straight edge, in any orientation, and with any frequency.
However, if we put even one small kink in an edge we eliminate a great deal of possibilities when putting our level tiles together.
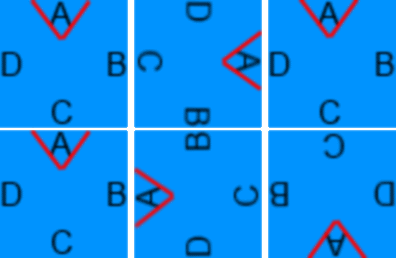
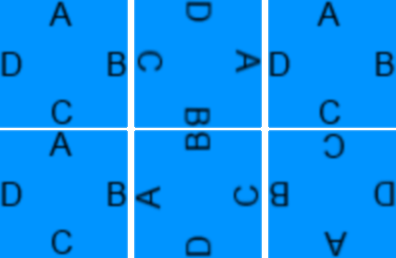
So making the mesh edges as simple (or uniform) as possible is a great advantage. EVAX standardized the level pieces on a cylinder. That allows all pieces to fit together seamlessly and in any order.

Tunnel pieces from EVAX with a gap to show alignment.
In these images, the same piece is repeated. In that situation, it is easy to be sure they will fit together. However, if you need to create different pieces, there is an easy way to ensure they will fit together perfectly. EVAX used Blender to create the level meshes.
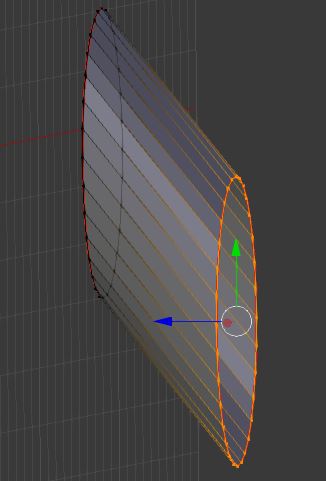
Here we see the level piece mesh in Blender.

If we want to make a new piece that can attach to the right-hand end of this piece, we remove all vertices that are not part of that end.
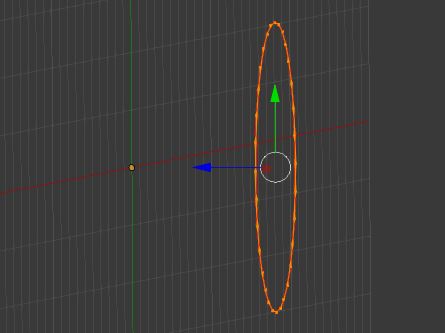
Then we can extrude those edges, and start to create our new piece. But because we started from the exact geometry of a previous piece, we can be sure that this new piece will fit perfectly with the old one.
Once we have finalized the geometry of our level pieces, we need to ensure that the textures fit as well.
The Material
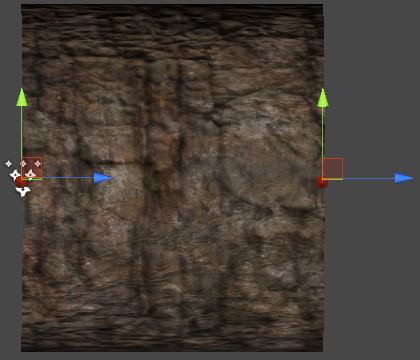
The easiest method for creating a material for our repeatable pieces is:
- use a seamless texture
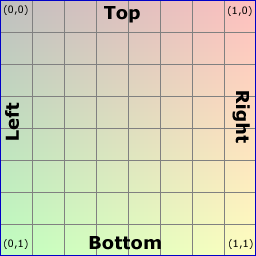
- UV map the texture to the entire level piece contiguously - meaning one corner has the UV coordinates 0,0 while the diagonally opposing corner is 1,1
By using this method, we can safely join our pieces together without seams in the texture. However, most seamless textures are only seamless when matching their left side to the right side, and the top to the bottom. That means that we cannot rotate any of our level pieces before attaching them. If you need to rotate your pieces, you should find a texture that is seamless along all of its edges.
The GameObject
We will structure our GameObject in such a way to simplify the toughest operation. When weaving a level from multiple pieces, the toughest task is aligning them perfectly with each other. To make that simple, we will create child GameObjects that serve as attachment points for our level piece.
The hard way would be to maintain data about the size of each level piece and then add those values to the position of the existing piece to get the appropriate position. But with pre-defined attachment points, we let Unity handle that for us.
Here we see the attach points for a sample level piece:
The point on the left is the "attaching" point - meaning we use that point when we are attaching this object to an existing one. The point on the right is the "attached" point - meaning we use that point when an object is being attached to this one.
The "attaching" point needs to be the top-level transform (the transform of the parent GameObject). That way, we can just set the position of the "attaching" point and we move our entire level piece.
Let's look at the code for this.
//This is the code for our level piece
//It should be attach to all level pieces

public class LevelPiece : MonoBehaviour
{
	public Transform frontAttachPoint;  //This is our "attaching" point
	public Transform rearAttachPoint;   //This is our "attached" point
}
//This method attaches a new level piece to an 'existingPiece'
//The invoker of this method should keep track of the last piece attached
//	and pass that back in as the existing piece
public GameObject AttachPiece(GameObject existingPiece)
{
	//simple error checking
	if (existingPiece == null)
	{
		Debug.LogError("lastPiece is null!");
		return null;
	}

	//Get the attach points of the existing piece
	LevelPiece existingLastPiece = existingPiece.GetComponent<LevelPiece>();

	//This method generates a new level piece
	//  You can use GameObject.Instantiate or an object pool pattern
	GameObject piece = Generate();

	if (piece == null)
	{
		Debug.LogError("Failed to create a level piece!");
		return null;
	}

	//Get the attach points of the new piece
	LevelPiece nextPiece = piece.GetComponent<LevelPiece>();

	if (nextPiece == null)
	{
		Debug.LogError(piece.name + " has no levelpiece!");
		//no good way to recover from this
		return null;
	}

	//Here is where the magic happens.
	//All we have to do is set the position of the new "attaching" point to the existing "attached" point
	nextPiece.frontAttachPoint.position = existingLastPiece.rearAttachPoint.position;
	nextPiece.frontAttachPoint.rotation = existingLastPiece.rearAttachPoint.rotation;

	//add the new piece to a collection for bookkeeping
	pieces.Add(piece);

	//keep track of the last piece added
	lastPiece = nextPiece;

	return piece;
}
Once we attach the LevelPiece component to the level piece GameObject, we set the attach points appropriately.
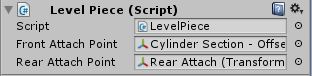
Here is an example of the GameObject structure:
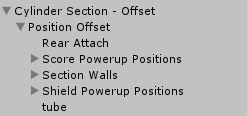
The "attaching" transform is on the parent object: Cylinder Section - Offset
The "attached" transform is on the child object: Rear Attach
Cleanup
Whether you are using GameObject.Instantiate or an object pool to create new objects, you will need a mechanism to clean them up. In an infinite runner game, we can create a collider behind the camera that notifies us when a level piece can be removed.
In the collider's OnCollisionEnter (or OnTriggerEnter) method, you can destroy the level piece or return it to the object pool.